Macramé has surged back in 2026. People love it for quick stress relief and fresh home decor. You grab some cord, and suddenly your space feels cozier.
The square knot stands out as the top pick for newbies. It forms flat, strong patterns that anchor wall hangings, plant holders, and even bracelets. Tie it right, and it stays secure without unraveling. This guide covers the basics, supplies, steps, fixes, and easy projects. You’ll master it in under 10 minutes and gain confidence fast.
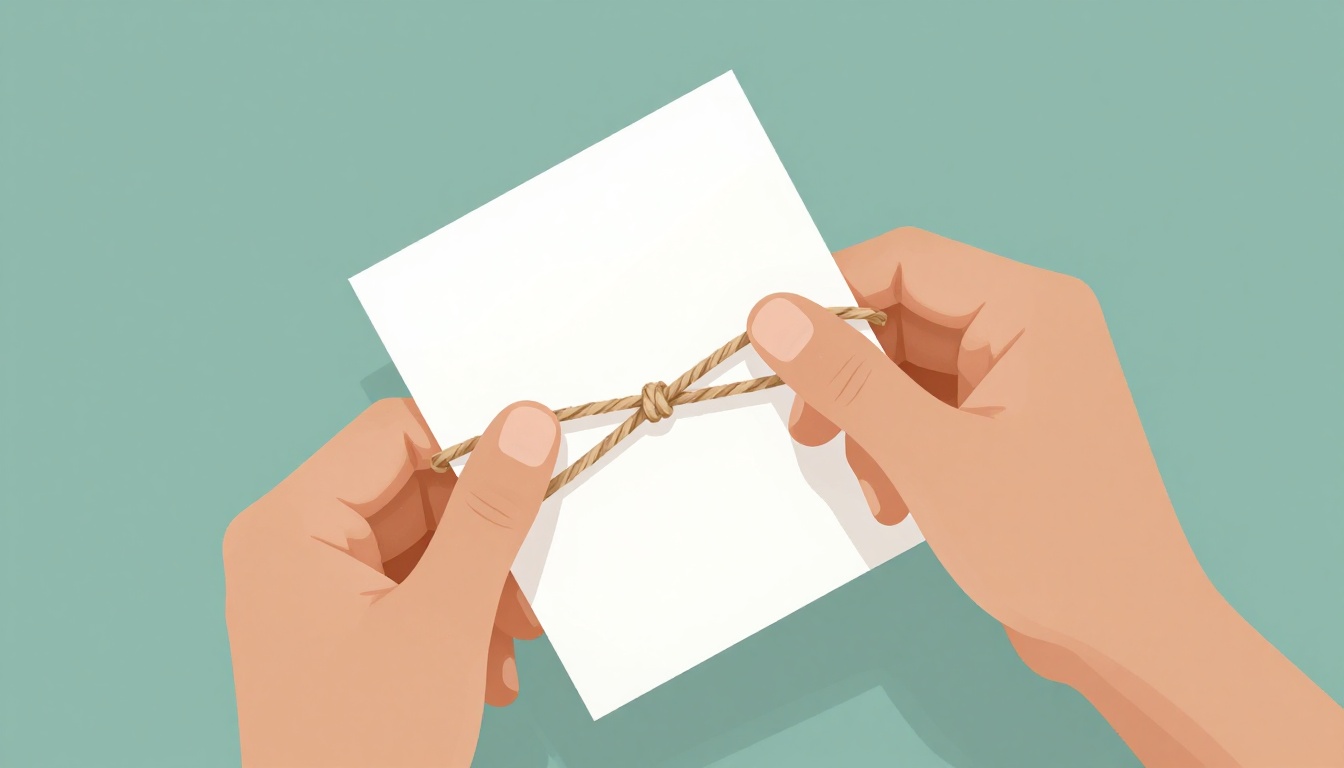
Why the Square Knot is Every Macramé Beginner’s Go-To Knot
New to macramé? Start here. The square knot acts like a balanced pair of overhand knots tied in opposite directions. This creates a flat, even pattern that flips nicely on both sides. Perfect for building grids in your projects.
It holds strong under weight. Think plant hangers loaded with pots. Beginners pick it because it’s simple yet looks pro. Plus, it leads to tougher knots later. In contrast, a clove hitch bunches up instead of staying flat.
You see square knots everywhere in macramé. They make rows for patterns, simple bracelets, or coasters. Sailors once used a version to secure ropes. Now crafters adapt it for fun. Ready to tame those cords?
It previews security tricks ahead. Picture tying shoelaces, but with a twist for elegance.
Key Features That Make It Secure and Beginner-Friendly
Symmetry keeps it from twisting. Tight pulls lock the loops together. Scale it for two cords or up to 16.
A single square knot works fine. Add a double for extra hold in heavy items. The interlocking parts resist pulls from any direction. That’s why it shines.
For beginners, it’s forgiving. Slight slips still look good. You get quick visual cues if it’s off. Fun fact: doctors use it in surgery, and scouts swear by it for reliability.
Gather These Basic Supplies to Practice Tying Square Knots
Stock up first. You’ll need 4 to 6 strands of 3 to 6 mm macramé cord. Go for cotton, jute, or nylon, each 6 to 10 feet long. Add a wooden dowel or foam board to anchor them. Grab sharp scissors, a measuring tape, and maybe a clipboard or T-pin.
Cord thickness grips better in knots. Anchors stop slips during practice. Start cheap with a $10 kit from craft stores. Smooth edges avoid fraying your fingers.
Cut cords to even lengths. Seal ends with tape for clean pulls. This setup lets you focus on knots.
Choosing the Right Cord for Your First Knots
Cotton feels soft for bracelets you wear. Jute gives a rustic look for decor. Nylon shines and lasts longer.
Pick 4 mm cotton to start. It handles easy. Use lengths five times your project’s size. Test tension on scrap pieces first. This saves waste.
Tie Your First Secure Square Knot: Easy Step-by-Step Walkthrough
Time to knot. Use four cords: two working on the left, two fillers on the right. Hold everything horizontal. Keep tension equal. Alternate directions each time. Feel for that snug fit as you go.
Practice 10 times. Build a single column or full row. Troubleshooting comes next.
Step 1: Set Up Your Cords and Anchor Them Firmly
Lay two left working cords over two right fillers. Anchor the tops to your dowel. Use your left hand to hold the left cords. Right hand grabs the rights. Keep them taut.
This base stays steady. No wiggles mean clean knots.
Step 2: Cross Left Over Right and Weave Under
Take the left working cord. Drape it over both fillers. Now the right filler goes under that loop and through.
Pull all four ends snug. But keep it even. The knot starts to form.
Step 3: Switch Directions with Right Over Left
Flip it. Right working cord goes over both fillers now. Left filler ducks under the loop and out.
Pull to match the first half’s tightness. You see the square shape emerge.
Step 4: Repeat for a Full Secure Row
Go back to left over right. Then right over left. Keep alternating for your row. Check that it lays flat.
Each pair builds the pattern. Smooth sailing now.
Step 5: Finish and Test Your Knot’s Strength
Trim extra ends. Tug hard in both directions. It should hold firm.
Secure ends with a small overhand knot or tape. Your first row rocks.
Fix These Common Beginner Mistakes for Flawless Square Knots
Everyone slips at first. Uneven tension waves the line. Wrong direction twists it. Loose pulls let it slip.
Fixes work fast. Mirror each half-knot. Pull all four ends even. Measure cords ahead. Practice slow. Use a mirror to check.
Start over only if badly twisted. Otherwise, adjust and go.
Uneven Tension and How to Keep Knots Flat
You pull one side harder. That causes waves.
After each half, tug fillers equally. The row stays straight as a result.
Twisted Knots from Forgetting to Alternate
Same direction twice twists everything.
Say “left-right-left-right” out loud. Muscle memory kicks in quick.
Loose Knots That Unravel Under Pressure
Snug them up wrong, and they fail.
Slide knots tight while pulling. Thicker cord helps grip. Test early.
Starter Macramé Projects to Practice Your Square Knot Skills
Put skills to use. Try these three. They build fast.
First, a square knot keychain. Use four 3-foot cords. Tie 20 knots in a row. Takes 15 minutes. Clip to a ring at the end.
Next, a bracelet. Alternate rows on six cords. Add a button closure. About 30 minutes. Wear it proud.
Finally, a mini wall hanging. Make a 10×10 grid on a dowel. 45 to 60 minutes. Hang it up.
Each boosts your skill. Share photos online. Next, try spirals. Full projects wait ahead.
Mastering the square knot opens macramé doors. You learn quick with steady practice.
Grab your cords now. Follow the steps today. Comment your progress or questions below.
Advanced guides come soon. Your first secure square knot waits just minutes away. Happy knotting!