Picture this. You grab your embroidery floss skein, excited for a new project. Then, one pull leads to a knotted mess. Frustration hits fast.
That tangle ruins your flow. It wastes time and leads to uneven stitches. Clean strand separation keeps your work neat and speeds up crafting. Embroidery floss stays smooth, so you focus on creativity.
In 2026, embroidery booms with over 25 million active hobbyists in the US alone. Beginners and pros alike search for tangle fixes. You need reliable ways to split those six-strand bundles into single threads.
Luckily, simple methods work every time. This guide shares tested tools, step-by-step techniques, and smart habits. You’ll master separation in minutes. Let’s start with the basics you need on hand.
Stock Up on These Everyday Tools for Tangle-Free Floss Separation
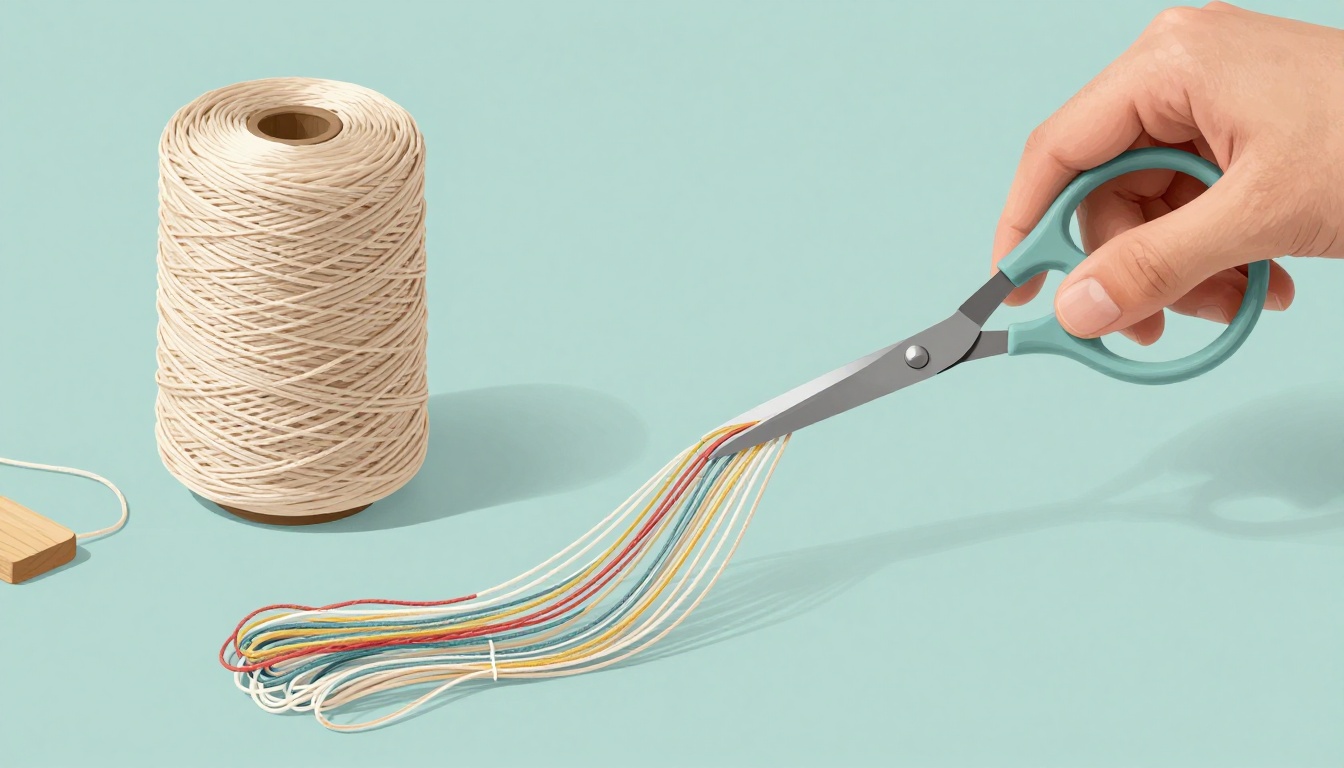
Good tools make separation smooth. They cut clean and hold strands steady. You don’t need fancy gear. Pick items from your craft stash or kitchen drawer.
Start with sharp scissors. They slice floss without fraying ends. Dull blades crush fibers and cause splits. Next, grab an embroidery needle. Its eye guides stubborn strands. Beeswax seals threads too. It adds a slick coat that stops twists.
A damp cloth helps grip. It adds light moisture for better hold. Floss bobbin cards organize separated strands. They prevent re-tangling in storage.
Budget options abound. Dollar stores sell scissors for under $5. Beeswax comes in small blocks at craft shops. Keep everything in a small zip bag. That setup lets you craft anywhere.
Organization saves headaches. Place tools near your hoop. You’ll grab and go without hunting.
Core Tools Every Embroiderer Needs
Scissors top the list. Choose embroidery-specific ones with fine tips. They cut precise lengths, often 18 inches. Clean cuts mean less fray.
Needles come next. Size 8 or 9 works best for floss. Thread one strand through the eye. Pull gently to separate.
Beeswax smooths everything. Rub the floss along the block. Strands glide apart because wax reduces friction. Pro tip: store scissors oiled. Wipe blades weekly to stay sharp.
These three handle 90% of jobs. They last years with care.
Smart Substitutes from Around Your Home
No scissors? Use nail clippers. They snip clean on thick floss.
Damp fingers replace cloth. Wet your thumb and index lightly. Pinch and pull. The moisture adds traction.
A straight pin mimics a needle. Slide one strand over its head. Tug slowly. Forks work too. More on that later.
These swaps cost nothing. They shine when you’re mid-project.
Master the Classic Hand Method: Separate Strands Step by Step
The hand method rules for most floss. It needs no extras. Practice once, and it clicks. Expect under one minute per strand.
Hold the skein loosely. Feel the strands slide. Patience beats force every time. Right-handers pinch with left fingers. Lefties reverse it.
Common snag: twists from the skein loop. Smooth them first. Then strands part easy.
Follow these steps for perfect results.
Step 1: Prep Your Skein the Right Way
Cut the loop at one end. Unfold the label carefully. It hides twists.
Smooth the bundle between palms. Run hands from end to end. This evens fibers.
Measure 18-24 inches. Snip straight. Prepped floss separates clean.
Step 2: Isolate and Pull One Strand Smoothly
Pinch one end with thumb and forefinger. Fan the strands slightly.
Pick one end strand. Slide it free from the pack. Grip tight at the top.
Pull slowly with steady tension. If it catches, stop. Re-fan and retry. Smooth pull wins.
Step 3: Finish and Store Without New Tangles
Lay the strand flat on your table. Check for loops.
Rub with beeswax if sticky. Wind on a bobbin right away.
Store in a flat box. Strands stay straight for next use.
This method builds skill fast. It works on cotton or silk floss.
Try These Clever Alternatives When Hands Get Tricky
Hands slip on humid days. Or floss feels thick. Backup tricks save the day.
Water slicks best for cotton. Forks control multiples. Needles guide tugs.
Each beats tangles in tough spots. Test them on scrap floss first.
Pros of alternatives: speed for bulk. Cons: extra steps sometimes.
The Water Trick for Super Slick Strands
Dip ends in cool water. Just fingertips wet.
Pinch and pull one strand. Water lets it glide free.
Pat dry with a towel. Dry fully before stitching. Great for humid weather.
Fork or Comb Method for Perfect Control
Lay floss over fork tines. Space strands even.
Hook one under a tine. Pull straight out.
Repeat for each. Combs work the same. Ideal for six-strands at once.
Needle Pull for Tiny or Stubborn Threads
Thread one strand through a large needle eye.
Hold skein steady. Pull the needle away slowly.
The eye isolates it perfect. Use for shiny polyester floss.
These options fit any snag. Give the fork a try next project.

Lock in Tangle-Free Habits with These Pro Organization Tips
Tools and methods shine with good habits. Organize floss by color families. Pre-separate stacks save time.
Travel bags keep kits tidy. Clean workspaces cut dust snags.
Beginners start small. Pros batch 50 strands weekly.
These steps turn chaos to calm. You’ll craft more, fuss less.
Simple Storage Solutions That Save Your Sanity
Bobbins rule storage. Wind strands flat. Stack by number.
Floss bags with dividers sort colors. Charts track inventory.
DIY: use index cards. Punch holes for bobbins. Pin to a board.
Daily Routines to Banish Tangles for Good
Pre-cut before sessions. Stack in envelopes.
Wipe workspace daily. Dust grabs loose ends.
Condition floss monthly. Light wax keeps it fresh.
Build these in. Tangles vanish.
Quick Wins for Smoother Stitching Ahead
Master one method today. The hand pull works fastest for starters. Tools like scissors boost every try.
Your projects deserve tangle-free floss. Grab a skein now. Split strands clean.
Share your go-to trick in comments. Which method clicked for you? Subscribe for color tips and hoop hacks next.
Embroidery brings joy when threads cooperate. Stitch on without worry.