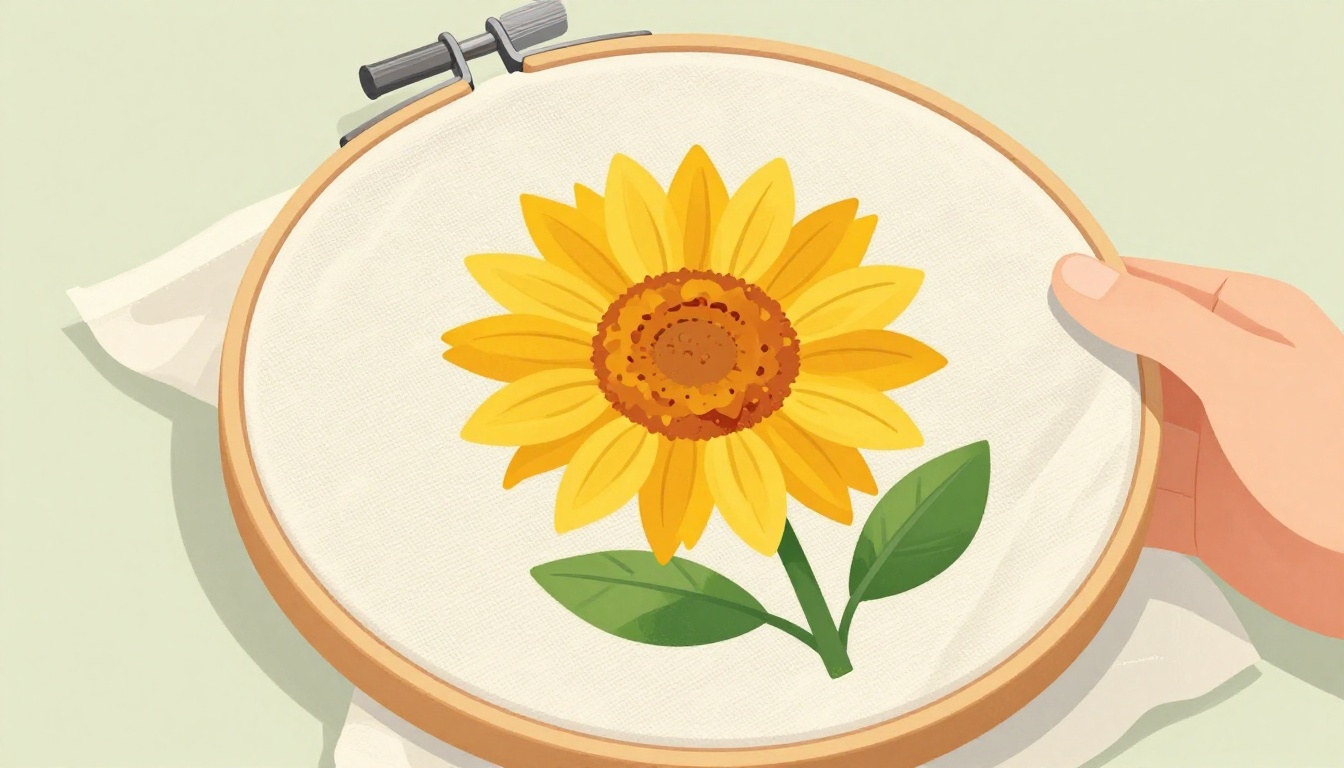
Picture this. You start a cheerful sunflower embroidery project. The colors pop, and the pattern looks perfect. Then, halfway through, puckers appear. Your stitches twist, and the fabric sags. Frustration hits hard.
Even tension means the fabric stays taut and smooth across the entire hoop. No wrinkles pull at the edges. No loose spots sag in the middle. This setup lets your needle glide straight. Stitches land crisp and true.
Poor tension ruins designs. Threads pull unevenly. Patterns distort fast. You waste time ripping out work. Good news waits ahead. The best method starts with smart fabric prep. Then you sandwich it between hoops. Finally, tighten in small steps. You’ll get pro-level results without hassle.
This guide walks you through it all. Follow these steps, and you’ll secure your embroidery hoop for even tension every time. Say goodbye to puckered fabric. Hello to smooth, lasting pieces. Let’s fix that hoop right now.
Why Even Tension Transforms Your Embroidery Results
Even tension changes everything in embroidery. Stitches sit neat and bold. Fabric won’t shift as you work. You count grid lines with ease. Finished pieces hold shape through washes.
Think of it like a trampoline. Tight fabric bounces your needle back consistently. Loose spots create dips. Your stitches sink unevenly. Florals bunch up. Geometric patterns warp.
Poor tension brings real problems. Designs stretch out of shape. Threads snap from pulls. You spend hours unpicking. Wasted fabric adds up too. One loose edge, and your whole motif puckers.
Fabric acts like elastic under tension. Pull one side too hard, and it stretches more there. The rest lags behind. Stitches follow that pull. Results look sloppy.
Master this skill, and projects level up fast. A simple hoop setup boosts samplers, pillows, or wall art. You stitch faster with confidence. No more second-guessing mid-row.
In short, even tension saves time and materials. It turns hobby stitches into heirloom quality.
Spotting the Signs of Uneven Tension Early
Catch issues before they wreck your work. Look for wrinkles along the hoop edge first. Fabric often bunches there from uneven pulls.
Check the center next. Does it sag when you lift the hoop? That’s a classic loose spot sign.
Feel for bunching as you start stitching. Threads sink deeper in weak areas. Hoops slip too, especially on wood types.
Run your fingers across the surface. It should drum tight everywhere. Soft give means trouble ahead.
Spot these early, and you prevent big fixes. Always check before the first stitch.
Your Must-Have Tools and Fabric Prep for Success
Start with the right gear. A quality embroidery hoop tops the list. Wood grips best for cotton. Plastic works quick but flexes more. Flexi hoops suit travel.
Grab sharp scissors next. They cut clean edges without fraying. Fabric needs two extra inches beyond the hoop all around. Cotton or linen holds tension well.
Add a spray bottle for misting. Light dampness helps fabric grip. Hoop tape prevents slips on tricky weaves.
Prep cuts most tension fails. Iron your fabric flat first. Heat smooths wrinkles that cause pulls.
Cut a square larger than the hoop. Center your pattern dead on. Mist lightly if needed. Pat excess moisture away.
Why bother? Prep stops 80 percent of slips. Dry, wrinkled fabric bunches easy. Damp, smooth pieces lie flat.
Beginners, don’t skip ironing. It pays off big. Choose hoop size to fit your design snug. Too big, and edges droop. Too small, and pulls distort.
These steps set you up strong. Tension holds from the start.
Match Hoop Size to Your Design Perfectly
Size matters a lot. Measure your motif first. Add two inches for handling.
Small flowers fit 6-inch hoops best. They keep pulls minimal. Landscapes need 8 to 10 inches. More room means even stretch.
Right size pros shine. Fabric stays stable. You handle the hoop easy. Stitches align true.
Oversized hoops sag at edges. Undersized ones warp centers fast.
| Design Type | Ideal Hoop Size | Why It Works |
|---|---|---|
| Small motifs (flowers, letters) | 4-6 inches | Tight control, less pull |
| Medium patterns (birds, houses) | 6-8 inches | Balanced tension |
| Large scenes (landscapes) | 8-10 inches | Room for even stretch |
Pick smart, and tension stays even. Your designs pop clear.
Prep Fabric to Lie Flat and Grip Tight
Iron first. Set your iron to cotton or medium heat. Press from the wrong side. Wrinkles vanish.
Cut two to three inches excess all sides. Square shapes center easy.
Place pattern right-side up. Center it perfect over the inner hoop spot.
Mist cotton lightly. Water relaxes fibers for better grip. Pat dry with a towel. Don’t soak.
Silks need starch spray instead. Knits get a stabilizer backing.
This prep locks fabric in place. No slips mid-stitch.
Step-by-Step: Secure Your Hoop for Flawless Even Tension
Now the fun part. Follow these numbered steps for drum-tight results. Patience wins here. Rush, and tension goes uneven.
- Lay fabric right-side up over the inner hoop. Center your design dead on.
- Smooth from center out. Use fingers like a squeegee. Pull taut to edges.
- Fit the outer hoop over top. Align any notches. Press down even with palms.
- Tighten the screw in quarter turns. Rotate the hoop after each. Check flatness often.
- Tug gently all around. Fabric should resist your pull uniform.
- Pat the surface. It drums tight everywhere. Ready to stitch.
Don’t overtighten plastic hoops. They crack under force. Wood takes more twist.
This method beats loose wraps or quick clamps. You get even pressure every inch. Repeat it, and muscle memory kicks in.
Practice on scrap first. Soon, hoops secure in seconds.
Position and Smooth Fabric Without a Single Wrinkle
Center the pattern sharp. Use a water-soluble pen for marks if needed.
Pull from center like stretching a drum skin. Work outward in circles.
Sweep fingers from middle to edge. Creases vanish fast.
Avoid pinching edges early. That creates pulls later.
Smooth fabric lies flat. Tension spreads even from here.
Sandwich and Tighten Gradually for Uniform Grip
Slide inner hoop under fabric. Outer goes on top. Match edges flush.
Press outer hoop flat with both hands. Keep pressure steady.
Turn screw a quarter inch. Spin hoop 90 degrees. Repeat.
Rotate full circle twice. Sides stay level.
Check often. One side higher means loosen and retry.
Gradual turns build uniform hold.
Test and Tweak for Drum-Tight Perfection
Flick the hoop edge. A ping sound means good tension.
Press center with finger. No give anywhere.
Stitch a test row. Lines stay straight.
Tweak by loosening screw. Readjust pulls. Retighten slow.
Perfect now. Stitch away worry-free.
Quick Fixes for Tricky Fabrics and Hoop Slip-Ups
Stretchy knits fight back. Slippery silks slide easy. Bulky quilts need space.
Tape edges with hoop grip for slips. It adds friction fast.
Dampen more for stubborn weaves. Or wrap hoops in bias tape.
Spring tension hoops flex without screws. Great for quick swaps.
Upgrade to floor stands for big pieces. Hands-free holds even.
Face issues head-on. These hacks save projects.
Tame Stretchy or Slippery Materials
Knits need stabilizer. Cutaway backing grips under fabric. Stitch through both.
Silks take starch spray. It stiffens just enough.
Sheers pair with water-soluble stabilizer. It dissolves after.
Grip tape lines the hoop inner rim. No slip ever.
Try these, and tough fabrics behave.
Nail Even Tension and Elevate Every Stitch
Prep fabric flat. Smooth from center. Tighten in small turns around the hoop.
This method secures your embroidery hoop for even tension perfect. Designs stay crisp. No more puckers or pulls.
Master it once. All projects improve fast. Samplers shine. Gifts impress.
Try these steps tonight on scrap. See the difference right away.
Share your before-and-after in comments. What fabric trips you up most?
Stitch with confidence now. Your best work waits.