Picture this: you reach for your favorite hoodie on a crisp morning walk. The drawstring dangles limp, half-gone inside the hood. Or worse, your comfy sweatpants sag because the waistband cord snapped. These breaks happen often from wear or rough pulls.
You don’t need a tailor or new clothes. This fix takes under 30 minutes with stuff around the house. It costs pennies. We’ll cover tools you need, safe removal, smooth threading, and tips to make it last. Anyone can handle replacing a broken drawstring in a hoodie or fixing a waistband drawstring.
Let’s start with the basics.
What You’ll Need for This Quick DIY Repair
Gather these items first. They keep the job snag-free and simple.
- Replacement cord: Pick one 10 percent longer than the original. It gives wiggle room for knots.
- Large safety pin or sturdy paperclip: Acts as your threading tool. It hooks and pulls without damage.
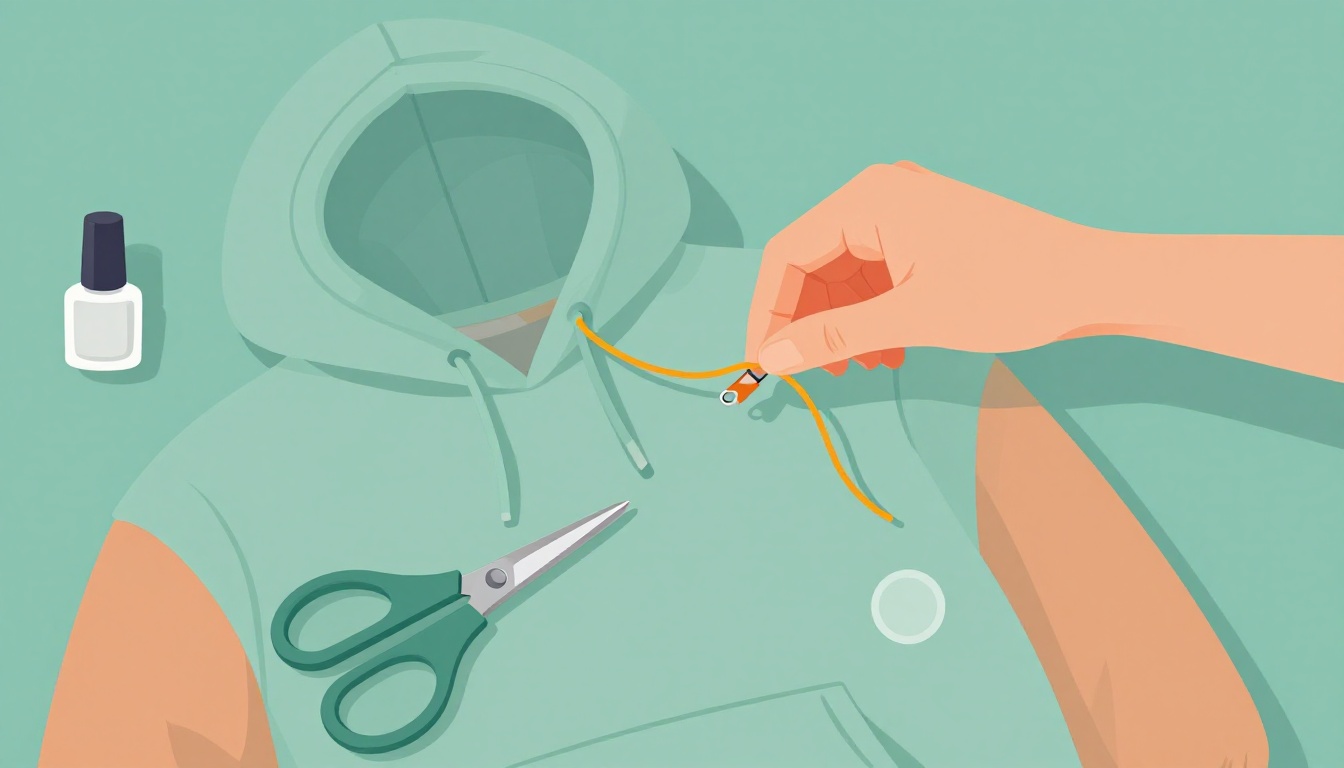
- Sharp scissors: Cuts clean edges on the new cord.
- Lighter or clear nail polish: Seals ends to stop fraying.
- Optional helpers: Thin wire for tight spots or a drinking straw for stiffening.
Why these? The safety pin glides through fabric channels better than fingers alone. Extra cord length prevents short runs. For sources, raid old shoelaces or hit dollar stores for paracord. Online fabric shops offer color matches too.
Hoodies take thicker cord because channels run wider. Waistbands need slimmer ones to avoid bunching. Measure the channel first. Stretch out the old string if you can. Add that length plus a few inches. Beginners, relax. This setup works every time.
How to Remove the Broken Drawstring Without Wrecking Your Clothes
Work on a flat surface. Turn the garment inside out if possible. This protects outer fabric. Go slow to keep the channel intact. No yanking, or it stretches.
Follow these steps for clean removal.
- Inspect both ends. Note where the break happened.
- Gently tug any sticking-out piece. Use fingers or tweezers.
- If stuck, grab your safety pin. We’ll detail that next.
Patience pays off. You save the garment this way.
Handling It When One End Still Sticks Out
This case is easiest. One side dangles free. Grasp the good end firmly.
Pull it slowly while feeding the loose part through with your other hand. Wiggle as needed. Tweezers help in narrow spots. However, stop if it binds. Force causes rips.
Most hoodie snaps leave one end out. Same for waistbands. In 5 minutes, you free it.
Fishing Out a String Stuck Deep Inside
Both ends vanished? No panic. Turn the waistband inside out first.
Push the safety pin into one channel opening. Poke gently to hook remnants. Twist if needed. Pull back slow and steady. Fabric bunches, but it straightens.
No luck? Try stiff wire bent into a hook. Or blast compressed air from a can to push it out. Work from both sides. Above all, stay calm. It emerges eventually.
Key Differences for Hoodies Versus Waistbands
Hoodies shine here. Wider channels and side openings make access simple. You reach both ends quick.
Waistbands form tight loops. Go extra slow. Measure the full circle before pulling. Hoodie channels span 40 to 60 inches often. Waistbands hit 30 to 50. Match that for the new cord. In short, adapt to the path.
Thread the New Drawstring Through Smoothly and Securely
Now insert the fresh cord. Speed kills here, so take your time. Bunching happens fast otherwise.
Prep helps most. Then thread. Finish strong.
Prep Your Replacement Cord Right
Cut it longer than needed. Say 5 extra inches each end.
Seal those tips. Singe lightly with a lighter, or coat in nail polish. Let dry. This stops fray from machine-wash tugs. Match thickness to the old one. Too thick? It jams. Too thin? It slips loose later.
Test slide a bit first. Smooth means success.
Master the Safety Pin Threading Trick
Knot the cord end tight to the pin’s loop. Double it for strength.
Insert the pin into the channel start. Usually a hood opening or waist seam. Bunch fabric ahead like accordion folds. Pull the pin through bit by bit.
Alternate sides on loops. Feel for resistance, then ease it. For waistbands, start where cords exit. In 10 minutes, it slides home.
Tie and Finish for a Pro Look
Knot ends secure. Double or triple for hold.
Add beads or plastic aglets if you want style. Tug the full length. Test the cinch. Trim excess, reseal.
Give a gentle yank first. It settles right. Your hoodie or pants look factory-fresh.
Smart Tips to Dodge Common Pitfalls and Make It Last
Soap up the pin for lubricant in tight channels. It glides better.
Choose thick, durable cord. Skip flimsy stuff. Store clothes flat, not crammed. Skip immediate wash. Let knots set 24 hours.
Heavy users add elastic inside for backup stretch.
Troubleshooting When It Gets Stuck
New cord bunches? Slide a straw over the pin-led end. It stiffens for push-through.
Or use dental floss as a leader line. Tie it ahead, pull through first. Never force. Pull fabric taut instead. Then resume.
These hacks save frustration. Your fix holds seasons.
Replacing that broken drawstring revives your gear. No shop trips or new buys needed. You save cash and time.
Grab your tools today. Try it on that hoodie or waistband. Share your before-and-after pics in the comments. Or ask questions below.
Next chilly day, enjoy the perfect cinch. You’ve got this fixed for good.