Picture this. You spend hours sewing a sweet little skirt for your kid. It looks perfect until you wash it. Then the edges start to fray. Threads pull loose everywhere. You feel that frustration all too well.
Pinking shears offer a simple fix. These tools cut fabric in a zigzag pattern. That locks threads in place without sewing. They save time on cotton, linen, and other woven fabrics. Beginners love them. Pros use them for quick seams too.
You’ll learn everything here. First, what pinking shears do and why. Next, how to pick the best ones. Then a step-by-step guide to cut right. Finally, pro tips and fixes for mistakes. Grab your fabric. Let’s get those edges neat.
What Exactly Are Pinking Shears and How Do They Stop Fraying?
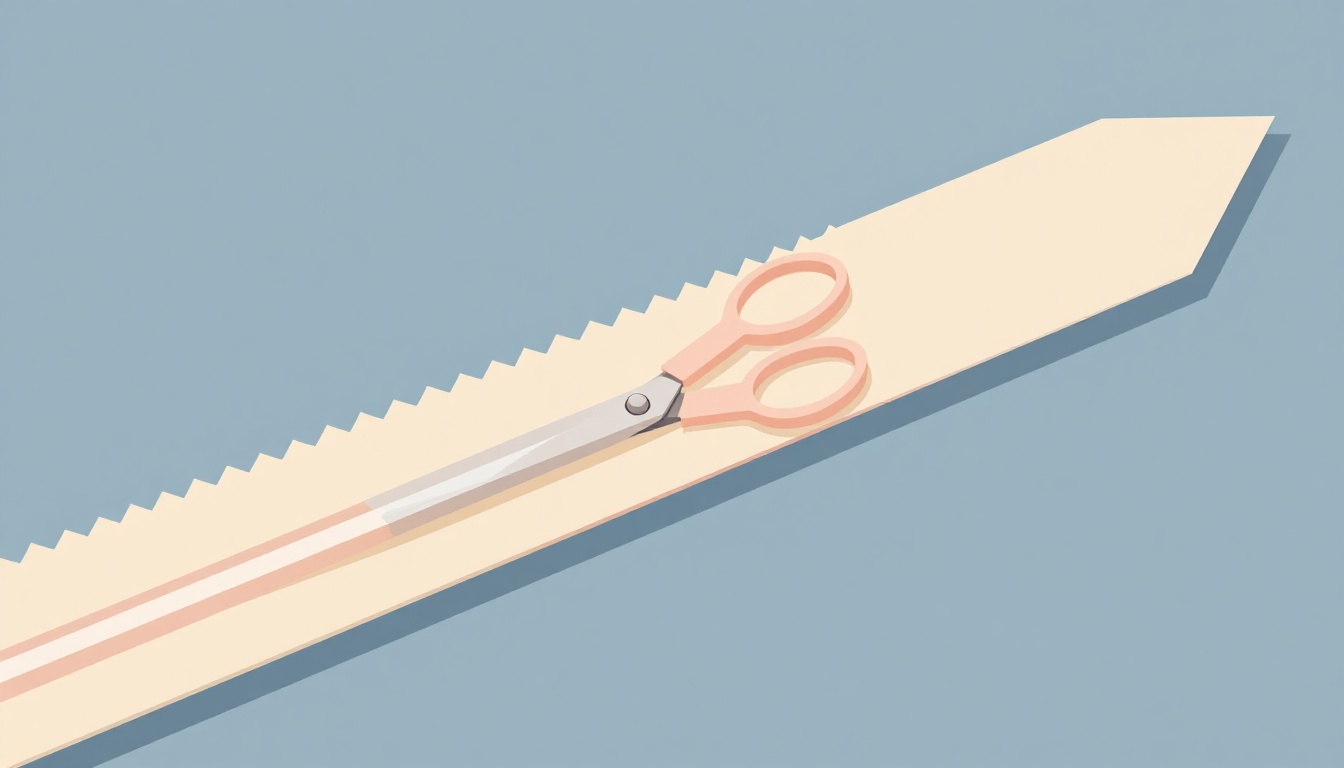
Pinking shears look like regular scissors at first glance. One blade stays straight. The other has teeth that make a zigzag cut. Tailors invented them back in the 1920s. They helped finish garment edges fast.
A straight cut lets fabric threads unravel easy. The zigzag changes that. Each tooth shortens threads at angles. So they tangle together instead of pulling apart. This works best on woven fabrics. Think denim jeans or cotton broadcloth.
They shine in seam allowances. You cut the raw edge pinked. That reduces bulk when you sew. No more lumpy seams. They beat hemming for speed. Serging does a similar job. But pinking shears need no machine.
The name comes from “pinking.” It means scalloped edges like carnation petals. Old laundry tricks used that look. Today sewers count on it for clean finishes.
Knits don’t work well. They stretch and skip teeth. Silks slip too much. Stick to stable wovens. In addition, test on scraps first. That way you see how your fabric acts.
The Science Behind the Zigzag Magic
Zigzags create tiny barriers. Each tooth cuts threads short. They stand at odd angles. Like puzzle pieces locked tight. Straight cuts leave long loose ends. Those pull free over time.
This stops fraying in washes. Seam allowances stay flat. Appliques hold firm too. For example, quilt edges benefit big. You cut pinked then stitch down.
Benefits stack up. Less raveling means stronger seams. It cuts prep time too. Press the edge after. You’ll see threads knit close.
How to Choose Pinking Shears That Last and Perform
Good pinking shears make all the difference. Cheap ones skip teeth or dull fast. Look for all-steel blades. They stay sharp longer. High-carbon steel works best.
Length matters. Pick 7 to 8 inches for control. Shorter suits small hands. Longer handles thick fabrics. Ergonomic grips cut hand strain. Rubber inserts help.
Brands like Gingher or Fiskars hold up. Budget pairs start at $15. Premium ones hit $40. Spend more for smooth cuts. Left-handers find special models. Check stores for them.
Test before you buy. Cut scrap fabric. Look for clean zigzags. No ragged spots. Adjust the tension screw if it skips.
Store them right. Oil blades lightly. Keep in a sheath. Sharpen with aluminum foil. Crumple it tight. Cut through 10 times. That hones edges quick.
Invest up front. Dull shears frustrate you. Sharp ones glide easy.
Top Features to Look For in Quality Shears
Blade material tops the list. High-carbon steel resists wear. Stainless adds rust proofing.
Tension screw lets you tweak. Loosen for thick fabric. Tighten for thin. Grips fit your hand. Bent handles ease wrist twist.
Size fits tasks. 7-inch for details. 10-inch for long cuts. Comfort wins for long sessions.
Your Foolproof Guide to Cutting with Pinking Shears
Start with practice scraps. That builds confidence. Prep saves headaches later.
Cut one layer at a time first. Layers work once you master it. Always use full blade length. Steady pressure keeps lines even.
Light shows mistakes. Flat surface prevents slips. After cutting, press edges. Steam sets the zigzag.
Follow these steps. You’ll get pro results fast.
Step 1: Prep Your Fabric and Workspace Right
Wash and dry fabric first. Shrinkage twists cuts later. Iron it flat. Wrinkles mess lines.
Clear a table. Good light helps. Pin patterns away from edges. Clips hold layers. No pins near cut lines.
Mark with chalk. Straight lines guide you. Wipe clean after.
Step 2: Master the Right Grip and Starting Cut
Hold like scissors. Thumb in small loop. Two or three fingers in big one. Pinky rests for control.
Start at fabric end. Align blades straight up and down. Cut full length per snip. Don’t force halfway.
Even strokes work best. Let teeth do the job.
Step 3: Keep Your Cuts Straight and Even
Guide with a ruler. Press it firm. Slow motion beats speed.
Check every few inches. Adjust if waves start. Relax your grip. Tension causes skips.
Practice makes straight lines natural.
Step 4: Finish and Inspect Your Zigzag Edges
Trim stray threads. Steam press lightly. No iron drag.
Pull edges gentle. No fray? Good job. If threads poke, recut deeper.
Your edges hold now.
Pro Tips, Mistakes to Dodge, and When to Skip Pinking
Sharpen every few months. Foil trick works wonders. Use on bias edges too. They fray worst.
Slow down for curves. Small snips help. Dull blades make ragged zigs. Rush jobs wave out. Practice fixes both.
Skip knits. They stretch funny. Loose weaves like cheesecloth fail too. Use zigzag stitch then. Or fray check liquid seals edges. French seams enclose raw spots.
Clean after sticky fabrics. Store blade protected. Oil keeps smooth.
Quick Fixes for Common Cutting Goofs
Wavy lines? Slow your hand. Guide steady.
Skipped teeth mean sharpen now. Or tweak tension.
Uneven depth? Align blades full. Practice evens it.
These tweaks save your project.
Pinking shears turn raw edges pro fast. You cut zigzags that lock threads tight. Pick quality tools. Follow prep and cut steps right. Dodge dull blades and rush.
Try them on your next make. Sew a spring apron this April 2026. Edges stay crisp wash after wash.
Share your cuts in comments. What fabric worked best? Grab shears. Sew confident now.