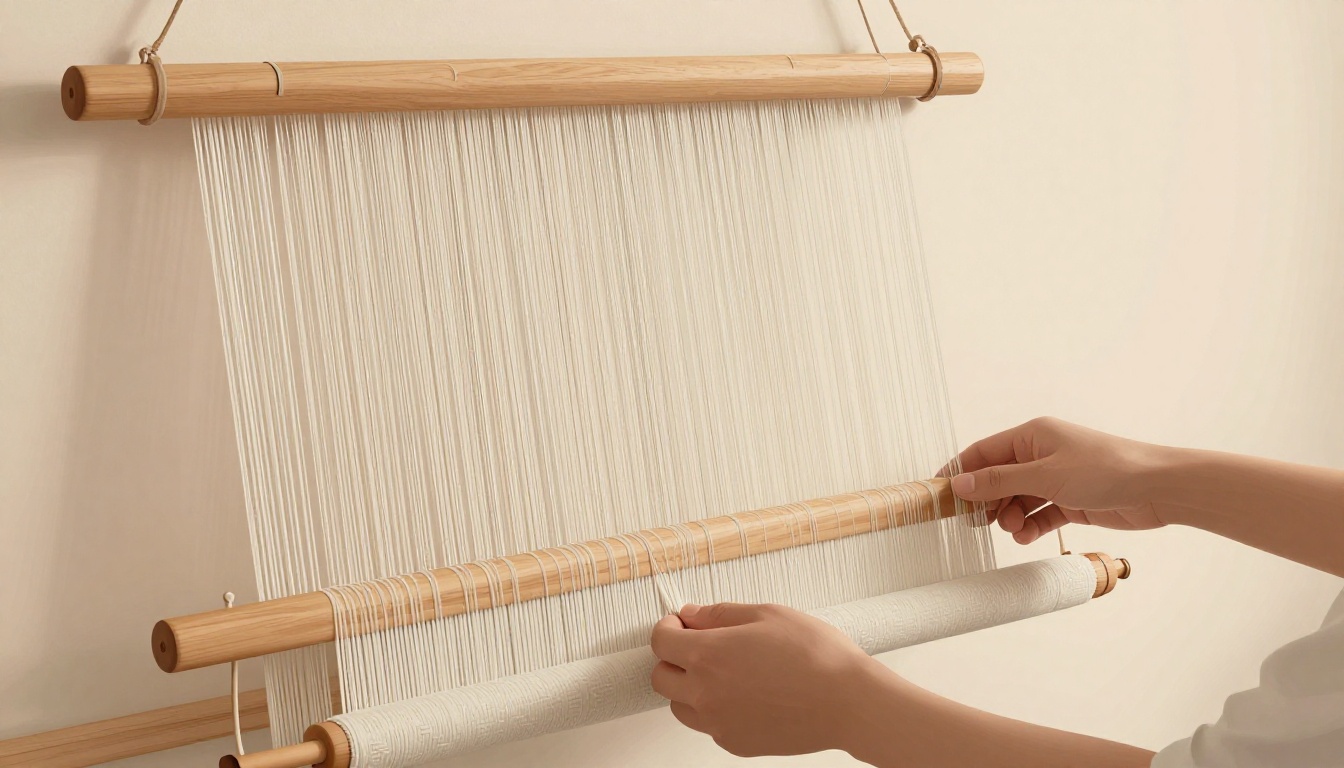
Picture this. You spend hours weaving a wall hanging. It looks great on the loom. Then you take it off. Waves and puckers appear everywhere. Frustration hits hard.
That happened to me once. My first big piece sagged in the middle. The fix? Consistent tension. It means warp threads stay equally tight from start to finish. This creates flat, professional results.
Beginners fight puckers and uneven texture. Pros want crisp patterns that hang straight. Good tension solves both. It prevents ripples and makes finishing simple. In this post, you’ll learn loom setup, weaving tricks, fixes for problems, and tips from experience. Follow along. You’ll weave your best wall hanging yet.
Why Consistent Tension Transforms Your Wall Hangings
Even tension makes your work stand out. Warp threads pull straight and uniform. The surface stays flat. It hangs smooth on any wall without bulges or dips.
Uneven tension does the opposite. One side gets loose. The other pulls tight. Edges wave like a flag in wind. Patterns distort. Fringe hangs lopsided.
Think of it like a drum skin. Tighten it right. Sound rings clear. Slack spots muffle it. Weavers face the same. Pros note most issues, about 80 percent, come from tension slips.
For wall hangings, benefits shine. Colors pop in clean rows. Textures feel balanced. A soumak pattern stays sharp instead of bunching. Viewers notice the pro finish.
You gain practical wins too. Less time fixing later. Easier to block and mount. Your confidence grows with each piece.
Tension affects every style. Simple stripes need it for clean lines. Complex tapestries demand it for depth. Skip it, and hours vanish into rework.
Build excitement now. Setup comes next. Get the base right. Results follow easy.
Build a Strong Foundation: Loom Setup for Perfect Tension
Start here. Proper setup handles 90 percent of tension woes. Choose the right loom. Warp with care. Pick smart yarns. Your hanging builds strong.
Pick Looms That Make Tension Control a Breeze
Frame looms suit beginners. They fold small. Pegs or screws adjust tension quick. Spend under $50 for a 12-inch model. Ratchet bars click tight.
Rigid heddle looms add ease. Knobs control warp pull. Brakes hold steady. Larger pieces work well. They cost more but save hassle.
Upright looms handle big walls. Levers keep threads pencil-lead tight. Avoid freehand sticks. They shift easy.
Frame looms shine portable. You weave anywhere. Manual tweaks build skill. Rigid heddles automate sheds. Less arm strain.
Skip cardboard boxes. They warp under pull. Invest once. Tension stays true.
Warp Your Threads Evenly Every Single Time
Measure all warp equal. Double project length plus waste. Wind front to back. Use a tension box. It spaces perfect.
Peg threads on raddle. Keep one inch apart. Pull steady. Pluck like guitar strings. Twang matches across.
Lay paper under. Stops snags. Space with reed or sticks. Tie ends secure. Test one inch. No sag.
Newbies rush. Uneven pegs twist. Slow down. Check often. Straight warps weave flat.
Advance warp even. No bunching at front.
Select Yarns Built for Reliable Tension
Worsted weight works best. Thick enough to grip. Wool holds firm. Cotton twists tight. Skip slick silk at first.
Two to four plies grip warp. They resist slip. Avoid single ply fluff. It stretches odd.
Mix fibers cautious. Wool with cotton fights. Swatch first. Weave sample row. Check flat after.
Strong yarns last. Tension stays through cuts.
Setup done right means smooth weaving ahead.

Weave Smoothly: Hands-On Tricks for Steady Tension
Now weave. Hold shuttle right. Beat firm. Check often. Rhythm keeps it even.
Grip and Guide Your Shuttle for Uniform Passes
Palm up grip works. Loose wrist slides smooth. Enter shed low. Exit straight. No drag.
Weft types vary. Thick yarn needs light fingers. Thin calls firm guide. Angle shuttle parallel.
Pull gentle. Never yank. Sides stay even. Practice on scrap. Passes uniform fast.
Beat Rows Evenly to Lock in That Crisp Look
Comb beats best. Hold perpendicular. Tap from shoulder. Firm yet soft. Same force each row.
Stay two inches from fell. Downward flick packs tight. Measure after ten rows. Flat wins.
Wood beater for control. Metal for power. Your arm learns rhythm.
Check and Tweak Tension as You Build Your Piece
Pause every four inches. Step back. Selvedges straight? Pluck warps. Even tone?
Advance warp uniform. Hands smooth back beam. Clips hold extras.
Finger along fell. Bumps mean tweak. Light pull fixes most.
Weave to beat. Music sets pace. Steady hands build beauty.

Spot and Solve Tension Goofs Before They Ruin Everything
Problems happen. Catch early. Fix quick. Your hanging saves.
Recognize the Top Signs of Tension Trouble Early
Wavy edges scream loose warp. Gaps show slack weft. Hourglass shape means tight middle.
Puckers bunch overbeat. Loops from underpull. Step five feet back. View true.
Setup skips cause most. Uneven warp twists top heavy.
Quick Fixes That Save Your Wall Hanging Project
Steam first. Spray wet. Pin flat. Dry overnight.
Unwind bad rows. Reweave even. Add clips to slack side.
Over tight weft? Mist and stretch. Beat lighter next.
Tools simple. Spray bottle. Pins. Rust-free.
Prevention beats cure. Check often. Most fix in minutes.
You got this. Tension masters make magic.
Ready to Weave Your Perfect Wall Hanging
Strong setup, steady weaves, quick fixes. These steps deliver flat, pro wall hangings.
Tension unlocks patterns. Try tapestries next. Bigger looms call.
Pick one tip today. Warp even on your next piece. Share before and after photos below. Pin this for reference.
Happy weaving. Your flawless hanging waits.