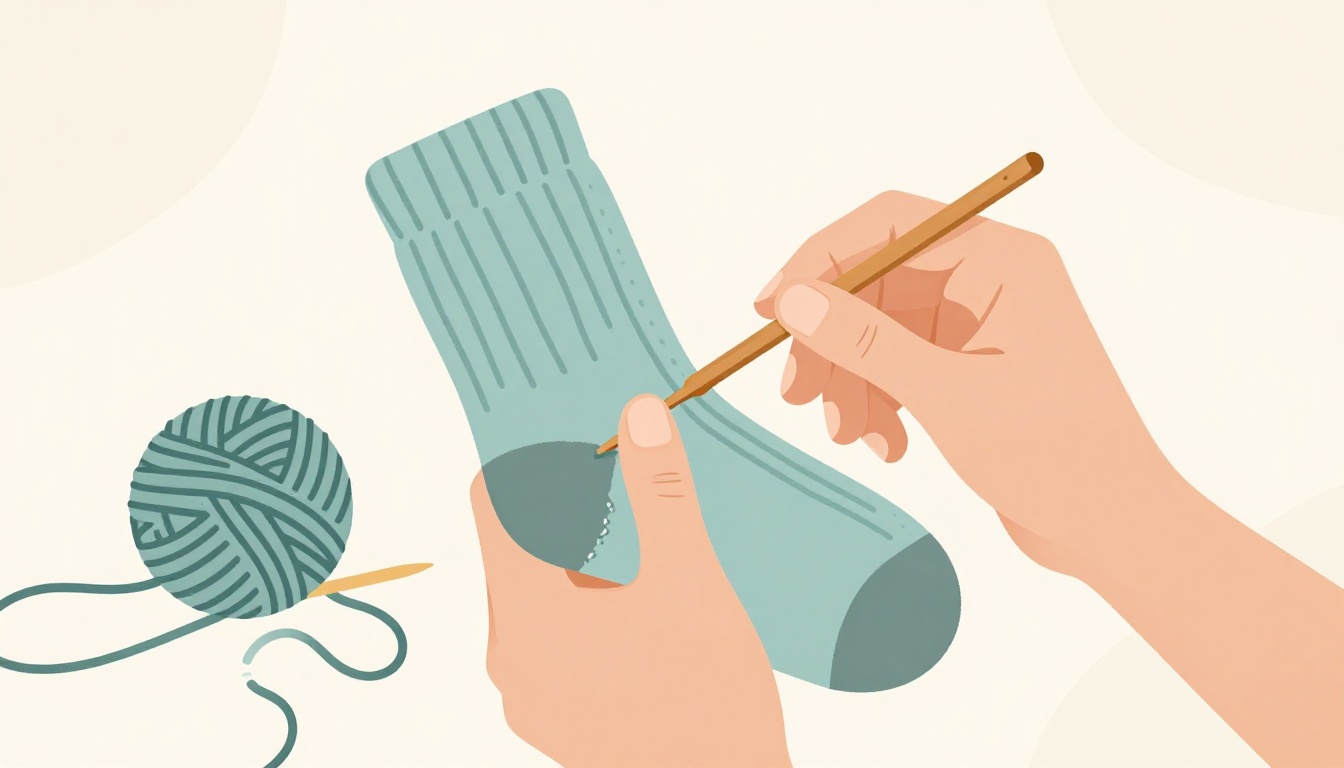
You pull on your favorite wool socks for a chilly morning walk. Then you spot it: a small hole right at the heel. That cozy cashmere sweater you saved up for has one too, smack in the elbow. Don’t toss them yet. Darning fixes these spots with a simple weaving trick. You use yarn to fill the gap invisibly, just like knitters did generations ago.
This method saves cash because you skip buying new clothes. It cuts waste too, so your wardrobe lasts longer. Plus, it’s beginner-friendly. With a bit of practice, you’ll mend in 20 to 30 minutes. You’ll need basic supplies, some prep, clear steps, and a few tips to make it stick. Anyone can master this. Let’s get your knits back in shape.
Round Up These Everyday Supplies for Easy Darning
Start with the right tools. They make the job smooth and frustration-free. You don’t need fancy gear. Most items cost under $20 total.
A darning mushroom or egg comes first. This smooth wooden or plastic tool stretches the hole open. It keeps the fabric from puckering as you weave. Find one at thrift stores or basic craft shops.
Next, grab matching yarn. Pick something slightly thicker than the original for strength. Check the garment label for fiber type, like wool or cotton. Test a strand from the inside seam to match color and texture perfectly.
You’ll also want a darning needle. Choose a blunt one with a large eye. It glides through knit loops without snagging. Sharp scissors handle loose threads cleanly.
Rustproof pins or tape hold everything steady. An embroidery hoop works for larger sweater holes. A magnifier light helps if your eyes tire easily.
Here’s a quick list of must-haves:
- Darning mushroom or egg
- Matching yarn (arm’s length pieces)
- Darning needle
- Sharp scissors
- Pins or tape
Keep it simple. These basics turn a hole into a hidden fix. Source them online or from your sewing kit. Now your workspace awaits.
Prep Your Knit and Workspace to Avoid Frustration
Set up smart from the start. A good space prevents slips and crooked weaves. Pick a flat table in bright light. Sit in a comfy chair so your back stays happy.
Wash the item first if it’s dirty. Block it too, by laying it flat while damp. This evens out stretched stitches. Turn socks inside out for heel or toe work. Keep sweaters right side out for elbow access.
Place the darning mushroom under the hole. Push it snug so edges touch without slack. Secure with pins or your hand. Never poke pins through active yarn loops. Trim loose threads close, but leave the hole edges intact.
Small to medium holes work best, under quarter-sized. Larger ones might need a patch first. Skip machine washing before darning. It felts wool and shrinks the knit.
Patience pays here. Proper prep leads to flat, even mends. Handle sharp tools with care to avoid pricks. Your knit is ready.
Follow These Steps to Darn a Hole Like a Pro
Weave a new patch that blends right in. Work from the wrong side for the best look. Use yarn double-stranded if the original feels thin. Keep tension even, like the surrounding knit. Practice on scrap fabric first.
Socks need curve-friendly weaves at heels or toes. Sweaters suit flatter spots like elbows. Follow these numbered steps. They build a strong, invisible repair.
Stretch and Stabilize the Hole Securely
Slide the mushroom under the hole. Position it so the damaged edges rest flat against its curve. For socks, match the heel’s shape. Sweaters fit best on smoother areas.
Wrap a yarn tail around the mushroom base. This anchors your start. Hold firm with one hand. The hole now stays open and taut. No slack means straight weaves ahead.
Weave the Foundation Rows Horizontally
Cut 18 to 24 inches of yarn. Thread your needle. Start just outside the hole’s edge.
Run the needle parallel to the hole, in rows. Space them to match the original knit gauge, about 1/8 inch apart. Go over existing yarn at the edges.
Cover the hole completely. Add one or two extra rows beyond for overlap. Leave tails at each end. These form your base grid.
Build the Vertical Weave for Strength
Turn your work 90 degrees. Now weave perpendicular to the base.
Slide the needle over one horizontal thread, then under the next. Treat it like basket weaving. Gradually shrink the patch to fill the hole.
Match tension to nearby stitches. Interlock edges by catching surrounding loops. This blends seamlessly. End with a short tail.
Secure and Trim for a Clean Finish
Knot the starting and ending tails invisibly. Weave them back through the new patch.
Remove the mushroom. Check both sides for evenness. Steam lightly with an iron over a damp cloth. This relaxes the weave.
Stretch the area gently. It should flex like the original knit. Trim any stray ends close. Your mend is done.
Finish Strong and Keep Your Mend Lasting Longer
Block the repaired spot overnight. Pin it flat under a damp cloth. This sets the shape perfectly.
Hand wash darned items from now on. Air dry flat to avoid pulls. Fold storage beats hanging, which stretches knits.
Re-darn if wear returns. Retire the piece when holes multiply. Use wool yarn on wool garments for best match. Reinforce high-wear spots early, like sock heels.
Common slip-ups include weaving too tight. It causes puckers. Mismatched yarn looks bulky. Always test tension on scraps.
Darning revives knits sustainably. You extend their life and skip landfills.
These habits make mends endure seasons.
You’ve got the skills now. Simple supplies and steady steps create pro results. Next time a hole appears, grab your needle. Try it and share your before-and-after in the comments.
Darning dates back to Viking times. They patched socks the same way. Self-reliance feels good. Subscribe for more easy fixes. Pin this for later.
(Word count: 1487)